Woodworking Plan Shopping Notes - Print at Home
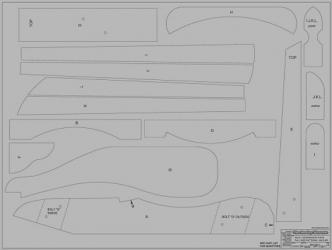
1) The Patterns for sale on this page instantly download and then you can print to 8.5 x 11" paper for use with transfer paper - they are at a lower price point.
2) For a bit higher price, you can try Autocad Files that will print full size patterns - just take the file to your local Print Shop. Click here to see our growing selection of Autocad Full Size Woodworking Patterns.
3) We have a $15 minimum purchase for all items, including woodworking patterns. Options - Donate to one of our charitable causes as part of your purchase (click here to learn more), or add items to your cart to bump over the minimum.
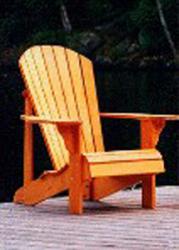
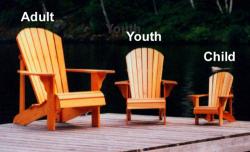
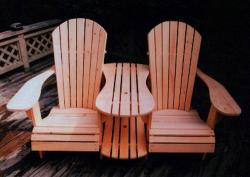
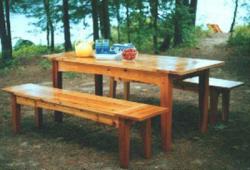
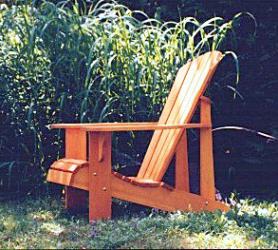
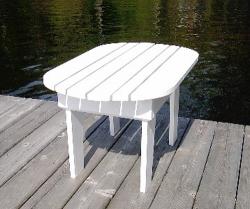
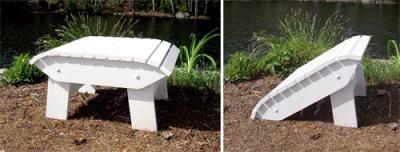
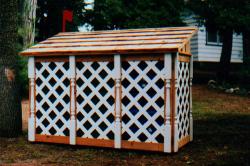
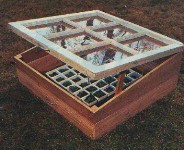
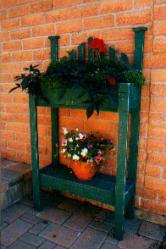
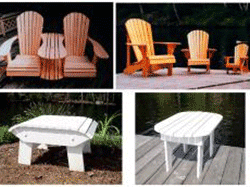
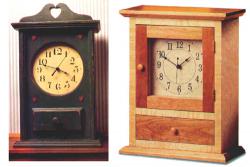
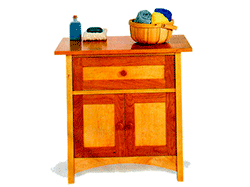
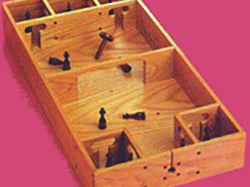
Instant Download of Woodworking Patterns - choose from categories below.
Download your plans as soon as you complete your order - Click the Download button on the Thank You Page, PLUS you will receive an email confirmation from us after you pay - the name of the plan(s) you paid for will be links to download the woodworking plans.


Testimonials
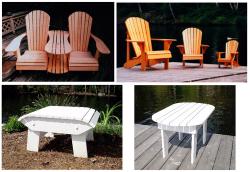
Check out some other popular items!


 Contact
  Help
Help


 Cart
Cart